How the factory masked and painted the body of a VW Bus
Painting a VW Campervan – how the factory painted both colours
Painting a VW split screen bus sounds easy enough, only when the painter starts asking where the mask lines go for the two tone paint is we start to think about it in the level of detail necessary. So after we removed all the paint from the bus we scratched our heads for where the paint goes. We chose L555 titian red and L472 beige grey – which is a classic colour combo from the later years of a split screen production.
Interestingly it is thought that VW painted the whole exterior bus the lower color and then painted over the top section with the two tone paint – commonly the lighter colour.
Front Doors
Starting at the front of the bus this is the paint line on the front doors. From other pictures the doors were not totally painted on the inside of the panels but enough to show the lower colour on the lower part of the door. Note that the window frames were put in after the bus was painted and finally see how the paint wraps round the outer skin and then underneath the interior panel. Front door looking forward;
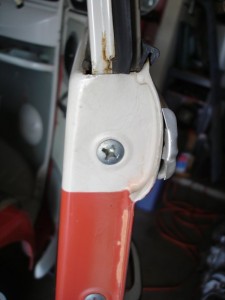
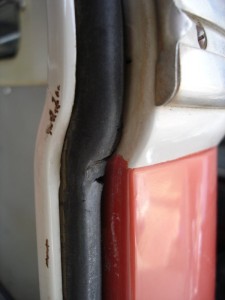
Perhaps the more difficult area to get right – the front door shut area. Note the paint line is below the main top hinge – the same applies to the outside of the hinge – hinges are always one colour. The sealing wax red on this original bus stops at the door seal – the grey seal runs in the groove. This applies all the way through the front door area – the seal ‘hides’ the paint line. The door catches on the B pillar were also not painted – make sure these are removed too. Final note – the door hinge screws were painted over – door was on the bus at paint, so make sure all the gaps and hinges are good before going to paint. Front door shut area;
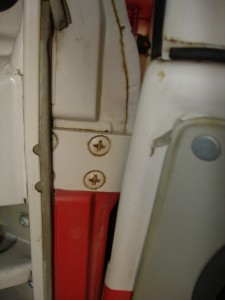
Cargo Doors
This is the side cargo doors showing some wonderful original detail – the tight perforated headliner, trim edging trapped behind the panel – all signs of originality. Here the grey seal again hides the paint line. Front cargo door looking forward:
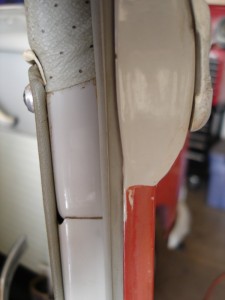
This is the cargo door shut area – looking at the rear most cargo door shut area. Here the paint line has to be carefully masked as there is no seal to hide the join.
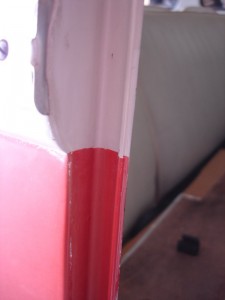
Rear Hatch
This is the rear hatch – there is no seal on the split rear hatch – only the bus body retains the seal. Hence we can see the paint line – here we’ll very careful masking to not show any of the lighter paint bleeding through to the darker paint. The lower colour wraps around enough so that the lighter paint is not visible when standing behind the bus. Rear hatch:
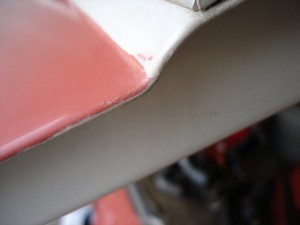
And finally the rear hatch shut area which should show that the paint line is hidden by the hatch seal – easy enough for the painter:
In summary the hardest part is the front door area – getting everything figured out especially on the A post can prove tricky to someone painting a bus without an original next to them to copy off. Have fun painting.