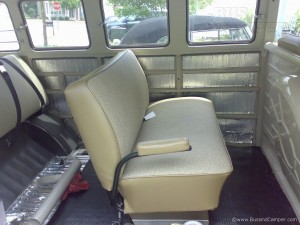
Making our Bus quieter – how we used sound dampener and absorber materials
VW Camper soundproofing – part two finishing the interior
The dampener material is a heavy sticky bitumen like substrate that adheres to the surface of the panel – it adds mass to the sheet metal and thus increases the natural frequency of the vibration – thus reducing the drum sound. The aluminium layer is what you see after applying the dampener.
Now that the sound dampener is in place time to look at the sound absorber. The absorber soaks up the sound as it passes into the material and slows it down – absorbing the sound energy and translating it into heat. The mat we chose also had a thick layer of rubber bonded to the top surface which acts as a reflector to bounce the sound back into the foam to be absorbed.
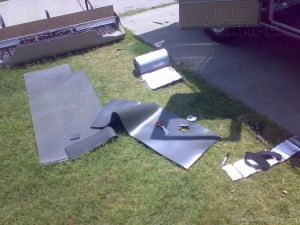
All very technical but this is where we started – the absorber mat is shown on the left – being cut into the right shapes. For info the dampener on its delivery roll is also visible;
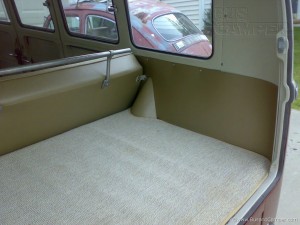
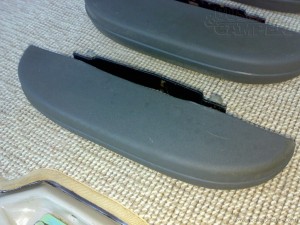
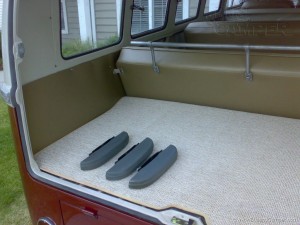
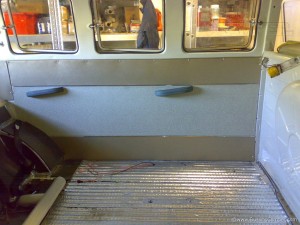
This is the rear hatch area – the thick sound absorber mat is trimmed around the lock plate and stretches to underneath the rear seat- all of this is underneath that wonderful square weave carpet in oatmeal – complete with cleaned and scrubbed up grey armrests;
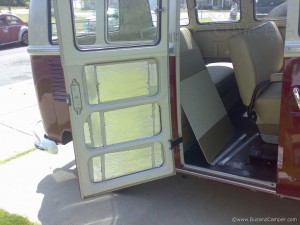
Turning to the middle section of a campervan – here is the cargo door with its damper applied – note the cut sections – try to get the biggest area that is not reinforced as this is drumming or vibrating the most;
And here we made sure every surface was covered – quite time consuming and whether it was worth it – not sure but we did it;
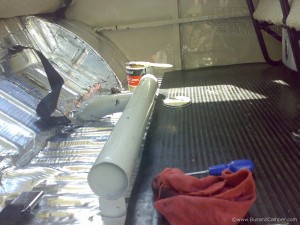
Here we see the first strip of sound absorber being applied to a wheel well;
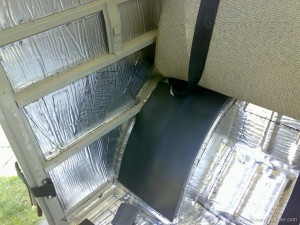
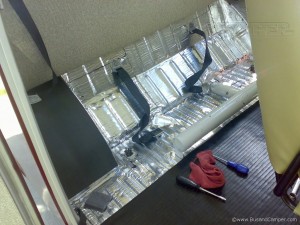
This shows the absorber applied under the rear seat and starting to apply it to the ‘long panel’ of a VW Camper, we used contact adhesive applied with a brush for best results;
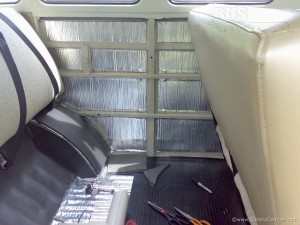
To get the long panel into place we had to remove the middle seat – trial and error to discover this but we got there in the end, on top of the damper we glued absorber, once dry we fitted the long panel, complete with arm rests and chrome trim – all correct for a deluxe vw campervan;
Finishing touches – we wrapped the heat log with thermal liner – like a thick fibre carpet with a thin layer of aluminium to act as a reflector. We chose to put the aluminium facing the log – all trying to get more into a camper van;
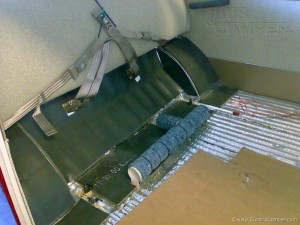
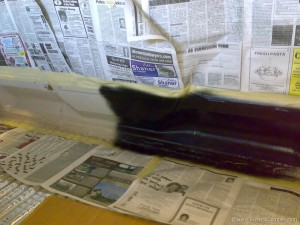
For the kick panel on a bench model campervan there is a kick panel rubber that usually goes here, but ours was long ago dried out and disinitegrated – not being made any more we have to get inventive for what to do in that area – beige grey paint looked odd, so we masked off and painted the kick area with bed liner – a tough chip resistant black paint with texture in it – turned out ok;
