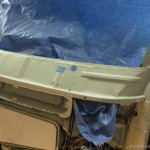
A guide to replacing a common rust area on VW buses – a challenging repair
Part 3 – rebuilding our lower inner valence
Part 3 of our guide to repairing and replacing the metalwork on the front of a bay window bus – with the old nose cut off, the rusted areas cut back to good metal again we can start making good.
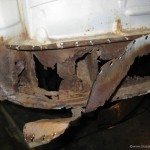
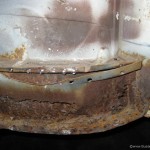
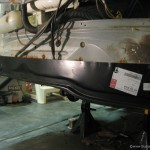
The lower valence or nose on a Bay window bus is a made up of an inner panel that joins the frame and lower scuttle to the bottom skin of the nose. This joining of 2 pieces together is a really good moisture trap and any water that drips down the inside of the nose skin will get trapped in this snadwich of sheetmetal and rust. Hence this is a very common rust area on Bay windows. The inner panel is welded at the top with spot welds to the floor or lower scuttle panel. To remove this you need access to the spot welds and this is only really possible with the lower nose skin cut off. There are 4 main chassis rails that form the strength of the front of a bus – a vast improvement in strength from a Split window. The lower doglegs also attach at the outer corners. Lots of joinign panels here. We used a Klokkerholm panel 211-805-331 D.
 .
. .
.
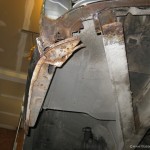
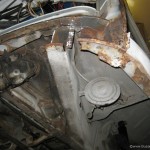
However in cutting back the old panel we also discovered more rot in the lower section of the a-pillar. There was no way of seeing this from the outside and without the right panels here the strength of our bus was compromised. Here our metalwork genius Randy makes a series of small repair pieces and welds them in place. Plenty of red oxide rust converter primer being used here – Rustoleum.
 .
. .
.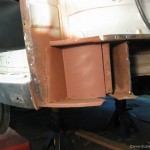
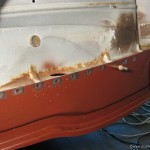
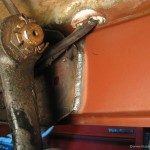
With lots of trial fitting, trimming and re-shaping these steps are made much easier with Cleco faseners – where two sheetmetal parts can be pinned together easily to allow trial fitting. Next up is to paint the new repair panel with rust converter and then weld the new panel into place, Randy drilled holes and plug welded the panel as per the factory. Round the back of the panel several long runs of seam weld were required including a tricky area behind the steering arm. Good adjustment of the welder keeps the splatter to a minimum but it still hurst a little when it lands on skin eh Randy? Time to this point – about 5 hours including those tricky a pillar pieces.
 .
.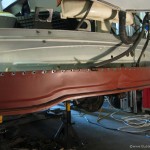 .
.
Before we went much further Randy made some repair pieces to the inner scuttle area at the top so the new nose has something to weld to. Again this is easier with the nose skin off and the dashboard out to get access to both sides. We started with some pretty thin metal and to allow the new nose to weld to this would be not too clever. Repair panels are available for these but the fit was not very good so Randy chose to make his own.
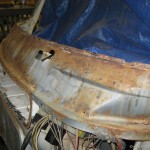 .
.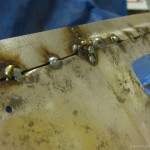 .
.