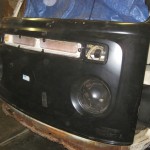
Guide to the differences in a Brazilian LateBay nose and a German EarlyBay nose panel
Part 2 – cutting the old rusty nose panel off our earlybay
Although from Arizona – one of the hottest places in the US, our bus needed repairs to the lower nose panels. Here we show how we undertook that repair in a series of blog posts.
Buying repair panels for an earlybay gets difficult, the only panels available are for later bays with some major differences. If you’re after a like for like replacement you have to modify a late nose or find an original dry nose from a cut up bus. Either way this job is not easy. The differences which essentially characterise the differences between an early Bay and later Bay;
1. Latebay’s use higher up indicators next to the air vent
2. Early and Late grille corner shapes and mount tabs
3. The emblem on a later bay is smaller and raised
4. The earlybay indicators holes and mounts are missing
5. There is a lip at the bumper line on a latebay
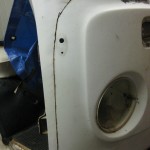
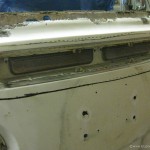
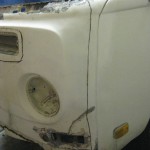
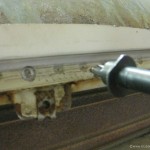
Side by side the new nose differences are obvious – and our goal here is to replicate the original but each difference requires work to get right. First things are to cut the old nose skin off the front of the Bus. So with everything that can unbolt removed we run a cutting disc down both sides and around the airbox. Normally there is an attachment at the top for the window but ours was all rusted away. Just be sure to keep away from the a-pillar and the dont cut through the indicator housings – we’ll need those later.
 .
. .
.
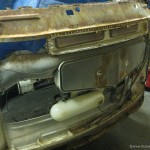
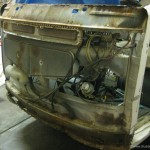
Lifting the main part of the old nose out the way we see how Volkswagen made the front panels much stronger than the previous model splitscreen Bus. We also see the full extent of the rust in the lower inner structure. We chose to preserve the airbox flanges as this appears to be the same. Here we use a spot weld drill bit to remove all those welds and seperate the outer skin from the airbox assembly.
 .
. .
.
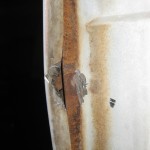
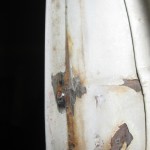
The final part is to remove whats left of the old nose on the a pillars, the skin is folded at this point and several welds placed to keep everything in place. Using a dremmel we grind off the welds off and prying the lip off is required, taking care not to damage the a pillar. On our bus there was a small dent to the drivers side that required a small amount of dresssing to keep straight. This final step is only possible with the doors off. We took our time deciding on where the join line should be around the bottom of the windscreen corner. The new panel only goes so far.
 .
. .
.
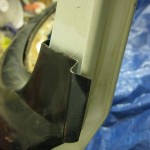
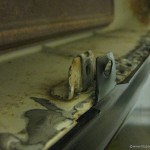
This is the new nose panel offered up to see where the next steps will be, here we see a decision to be made as to how to join the new and old at the windscreen pillar – butt joint or stepped, the differences in the airbox grille mounting tabs – where the late seems more flush and the early must have a more recessed screw, and finally the first picture of the new nose as supplied by the parts houses – no modifications yet to the various differences as summarised in the earlier list. Time taken to get to this stage is about 10 hours.
 .
. .
.