Not a complete Horror story but some interesting finds – our Westy needs a welder
Easley – a closer inspection shows some work required
So we bought a Westy over the internet, we thought the Bus looked ok in the 6 or so internet pictures, however, as always the truth up close was a little different. Here we start to go through what we’ve bought and there were some surprises in store for us.
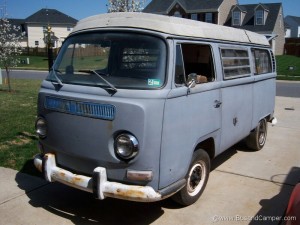
Looks happy enough, sort of complete, bumpers, lights, pop top there, all the doors and wheels etc missing the front badge and that trim around the intake mesh is not right but these are small items easily fixed. What we’re after is the base metalwork – are there any panels that need replacing and if so how many and where are they. This is a supposed dry state bus so we’re not expecting too many issues.
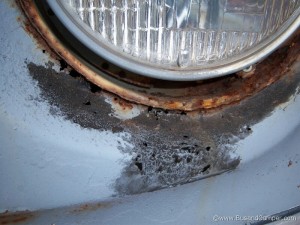
Starting at the front we can see pinholes just below the leftside headlight bucket – complete with some rust treatment it would seem, needs a local repair here, but those holes may indicate a bigger issue lower down – and Bay window lower valences are really good at trapping moisture and rusting form the inside out. Hopefully the repair to this area will not require a new headlight bucket;
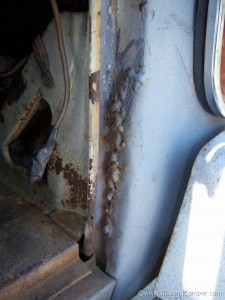
Opening the front doors we were keen to see if the doglegs were ok, or as more common they were rusted out. Here we see there is very little metal left holding the floor tot he dogleg and at the top right of the picture very little holding the floor to the seat stand. Work required here – local patch or new floor?
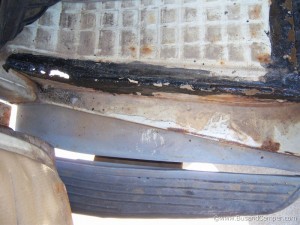
With the bumper off, this is the underneath of that nearside or left side dogleg – and it shows there’s not a lot left of the bottom surface. We’ll be needing new panels here;
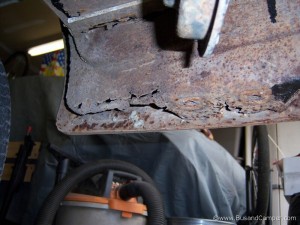
Moving around to look the inner nose panels shows some horrors – here the inner valence has just rusted straight through and will definitely need replacing, in this pic you can see the proximity to the steering box – an instant MOT failure if we were to present like that. Bay Window lower nose valance panels have only a few drain holes and even worse have a moisture trap between the inner and outer valence panels – a very common rust area unless kept dry and vented. This is typical of Bay window rust in this area and we’ll need inner and outer panels here;
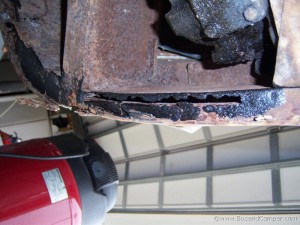
And this is the lower nose on the right side – beware rust in progress;
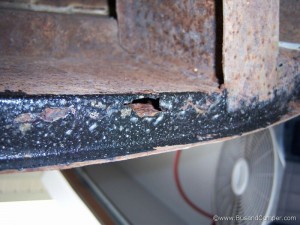
And for the sake of completeness this is the dogleg on the right side – even less is left of this panel. So thats both doglegs, inner and outer nose valence and a headlight bucket repair so far, and we’ve not looked at the rest of the Bus yet. More rust has happened than is happening here;
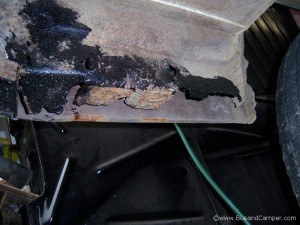
Inside the front wheelarch shows another common repair panel – this is a popular water trap with the fridge and water carrier unit close by inside the cabin. Not too much imagination is required to think this is a commonly wet area. Add in the spray from the wheels and voila – accelerated rust;
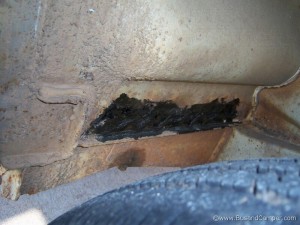
Moving down the side of the Bus, there is something wrong with the long side – this is the underside of the sliding door, this will need further investigation as along with this is evidence of bondo filler in the rear quarter panel.
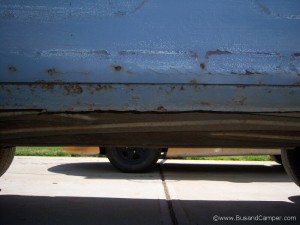
And the rear quarter with some suspicious bondo coming through – maybe some panel repairs here from previous resto work?
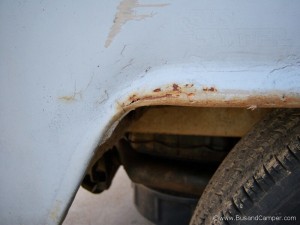
A repair panel here on the left side, maybe as a result of the quarter window above not sealing properly and letting in water to be trapped in this panel;
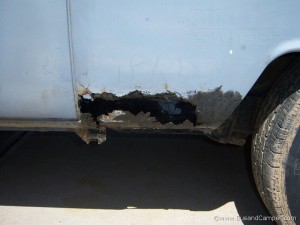
Amazingly this was inside the Bus, where the spare wheel should be we find some fairly unusual rust – how this happened is interesting, perhaps the seal around the rear hatch failed at some point, or the eberspacher heater made this area sweat badly, but whatever happened it needs a repair, and this area is not usual so will probably need some custom sheetmetal.
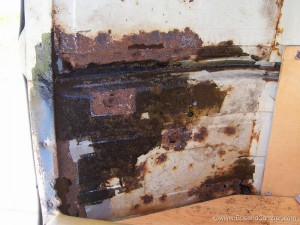
Finally we need the rear bumper off to investigate this pair of rear corners – again typical rust areas for a Bay window;
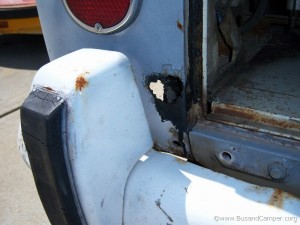
And this is a previous repair not quite finished, but what was the repair and how far round does it go?
