How we lowered DragBus using Beetle suspension components
Straight Axle kit on our Campervan Dragbus
A Rat style Bus would not be Hoodride unless its lowered and this was on the plan from the start. So out with the old gearbox and in with a upgraded Beetle based gearbox.
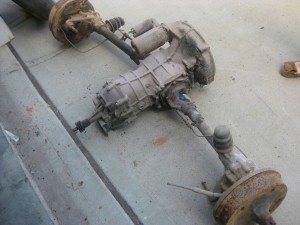
This is the old setup coming out – aside from the 40+ years of dirt, dust and grease etc you can see the basic gearbox centre section is essentially Beetle, the axle tubes and reduction boxes at the end of those tubes are VW Bus specific. Not much of this stuff is re-used when doing a straight axle – only if the diff is being flipped will the gearbox be re-used. The most important thing to retain is the Camper nose cone and its unique hockey stick – gear selector. For info this trans is a Big Nut – due to the size of the castle nut on the shafts. Here is a well used 1966 Campervan transmission;
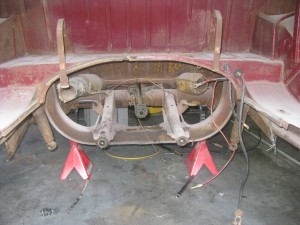
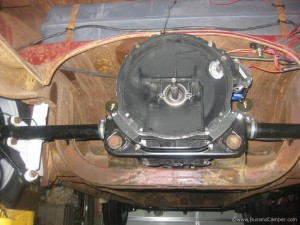
This is the void left. A straight axle conversion essentially replaces the gearbox shown in the pic above with a Beetle version of the centre casing – Beetles have their differential on the other side compared to a Bus. In this pic the petrol tank is also out waiting to be restored. Clean engine bay at this stage;
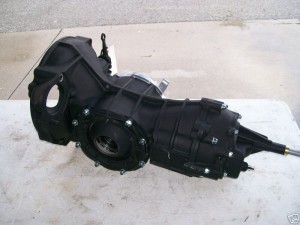
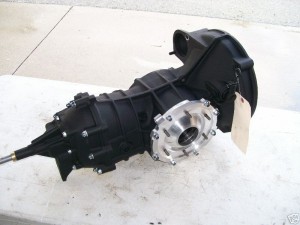
Since we’re going for a big engine we specified a better stronger box – Rancho pro Street, whose spec reads welded 3rd and 4th gear, steel selectors, hardened spacer between 3rd and 4th, aluminium side cover and a Super Diff – 4 spider gears. Should be good to drive the Bus down a drag strip. This is the Rancho Bus Boy pro street;
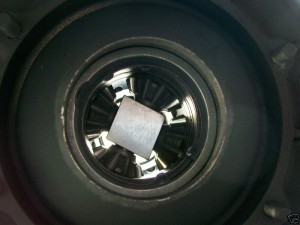
Four spider gears = VW Super Diff (stronger);
Installed in the Bus, powder coated bottom carrier plate, new HD gearbox mounts, and in this picture the restored petrol gas tank, high torque starter for reliability, painted axle tubes and new gearbox boots, wiring tweaked for power distribution, all waiting for the engine;
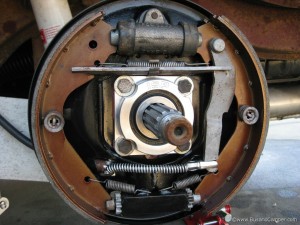
For better brake performance we used a wider type 3 setup – backing plate, brake shoes and the early wide 5 rear drums. The custom machined ISP bearing cover has the correct depth seal – important point when collecting all the necessary parts to make a straight axle conversion. This is what our setup looked like close up;
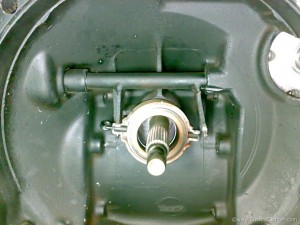
One thing we thought was little poor on the rebuild was the lack of upgraded clutch release bearing throw out shaft, here we see what happens when we combine a stock selector arm / fork assembly with an uprated Kennedy clutch cover – ouch, after this we fitted a Bugpack HD throw out arm – fully tig welded, heavy duty, which will not break like the stock unit. This is stock weak;
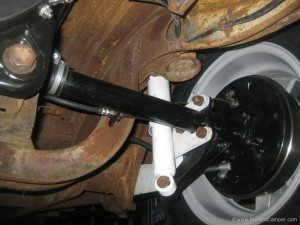
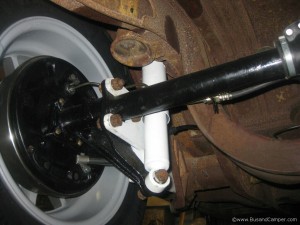
Pictures of the straight axles installed onto the notched spring plates, white uprated KYB shocks and also routing of the handbrake cables;
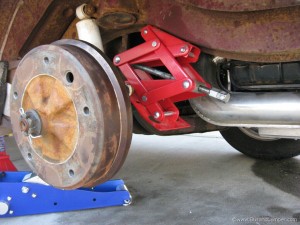
Common challenge for a lowered bus is how to change the rear wheel – by the time the Camper is lowered there is no room in the wheel arches to get the wheels on and off, this is what we do to get the axle low enough to change out the wheel, make sure the brake line is out of the way though, insert scissor jack and turn slowly pushing the axle tube lower;
