Here we show how we set about restoring the nose panel on our Westy
Part 1 – replacing the nose panel on our VW Campervan
Reproduction nose panels only exist for later Bay windows – ours is an earlier model with the low indicators and flat badge area. This is how we replaced ours.
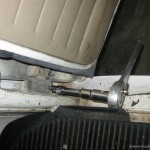
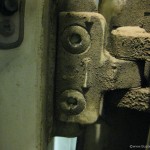
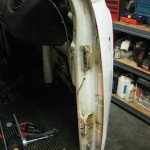
In the investigation blog post we’ve already removed the front bumper and the curved ‘bay’ window front window but to get more access to the edge seams we need those front doors off. We also removed the battery. We went the extra step and took the trim panel off so we could service the door internals – push back the end caps on the door pull, the window winder and door door opener to remove the phillips screws. Then start carefully prying off the clips that hold the trim panel to the door – the clips are push fit into small rubber bugs like Beetles – normal VW stuff. Dont forget the door check strap, this is a circlip affair and a pin. The main hinges are screwed in with a 6mm allen head countersunk screw – four of them, and they need some effort to release – we used a 1/2 inch drive 6mm allen drive socket. Bay doors are heavy so take care when that last screw comes out that the door is supported.
 .
. .
.
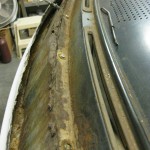
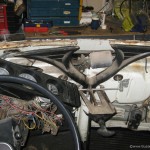
Next up is the whole dash panel which in a Bay is not only removeable but comsiderably more complex than the preceding Splitscreen Bus. We started with the number of sheetmetal screws on the window bed which given the rust could be challenging, the top metal air vent trims have smaller screws but these release the plastic vents under the dash. Then working on the inside the dash is screwed in 2 places to the steering column bracket, the handbrake is also secured with 2 screws under the ashtray. The wiring can be left entirely in the Bus – this means the instrument cluster comes out and is posted through its hole to be left in the bus, each and every electrical switch needs to be removed and left. Finally inside the ventialtion controls need to be dismantled and their actuator arms unclipped from the brackets. That should leave the 6 large screws on the door shuts, and with this the dash should start to come free. Take care of the plastic vents – they’re brittle. This is what we ended up with;
 .
.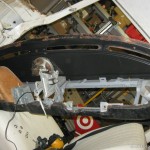 .
.
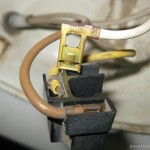
The wiper motor, frame and arms should come out easily enough – best to restore them at this point as getting to them later with the dash in will be a challenge. Our wipers arms looked like they were missing some parts so restoring them was planned anyway. Squirters come out at this stage too – ours in fact were not even attached – they were held in with bondo. With the wiring exposed this is a good time to plan a tidy up – we serviced the indicator arm, re-wired for flashing indicators following our guide Flashing indicators for UK VW Camper Vans. Finally the last task for the wiring is to remove the headlight connections and those earlybay lower down indicators. The clips that hold the headlight plugs in place are aerviceable – we prefer to remove the connector and feed the wires through the hole than snip them off.
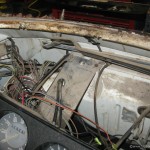 .
.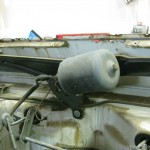 .
.
Next up in part 2 we cut the old nose off – plenty of grinder action..